Wednesday, February 22, 2012

Cub Scout Blue & Gold

Feels good to finally make and cake.  But I will be honest it feels good to be done with it too.  This was one of the fastest cakes I have done in a while.  I haven't done an all buttercream cake in a long time.  It was nice not having to work with fondant.  I also decided to go with American Buttercream.  Cub Scouts don't care if the frosting is too sweet.  Heck they probably prefer it.  It saved me a bunch of time and a bunch of BUTTER. 

The cake was 16 x16
Made from American Buttercream
All hand piped
White Sour Cream and Almond layer on top
Filled with Oreo Custard filling
Chocolate Cake on bottom layer

Sunday, February 19, 2012

Funfetti Watercolor Cake

It took me 4 months to post it, but here is Auntie Bails Birthday Cake.  We were so excited to give her this cake.  Not just because it was her birthday, but she came home from her 18 month mission from the Philippines on her birthday. I made the cake, but the kids helped to decorate it.
We made her favorite, Funfetti.  Then covered it with fondant and left to pick her up from the airport. I wish I had pictures to show of her homecoming, but we were all so excited to give her hugs that we didn't take any pictures.  After the reunion we headed home so she could get cleaned up and the kids started their masterpiece.

If you are wanting to try this at home you will need:
A fondant covered cake
Gel food coloring diluted with clear vanilla extract
Clean paintbrushes.  We have special food only paint brushes.
Eager Artists

Once the kids were done with painting every inch of the cake I put some extra touches on it to hide the bottom. 

Doesn't it look like stain glass?  They had so much fun and she loved that it was made by the kids.


Happy Birthday Bails.  We are so glad you are home!!

What's Your Favorite Kind of Cake?

I have been MIA in the cake world for the last 4 months.  The last cake I made was for my sister.  It was a simple cake that actually my kids decorated.  I have yet to post it on here.  I do have a good excuse though.  If you follow my other blog, Positively Peaches, you would know that we are expecting.  Right after I finished making Razy's birthday cake, I got really sick.  I was never sick with my other three kids.  This one though really did me in.  I thought I would never get over it.  I am now well into my 2nd trimester.  25 weeks!!! Yay.  It wasn't until about week 15 that I was starting to feel better.  Luckily I have a wonderful husband who took care of lots of house work and stuck through lots of eating out. 

When I was asked by the Cubscout Committee Chair to make a cake for the upcoming Blue & Gold I was leary, but excited.  I have been itching to make another cake.  However, this one is going to be a fairly simple one with just piping.  No fondant.  I didn't have it in me to spend the extra day making and kneading the fondant.  With that being said the cake is in the oven right now.  I am making my favorite, White Sour Cream and Almond.  I thought it would be fun to see what kinds of cake you all enjoy eating or making. 

What is your favorite kind of cake? 
What flavor of icing do you like?
What flavor of filling is your favorite?
If you have a recipe that you wouldn't mind sharing I would love to hear them (djpeachparty5@gmail.com).  Who knows maybe I will have to try it and feature YOU!!

Friday, January 20, 2012

Baked Doughnuts

We have had a week off of school due to atleast 12 inches of snow this week.  The kids and I have had lots of fun playing in the snow, drinking hot chocolate, and playing video games with daddy.  Along with all this fun the snow has also gotten me in the baking mood.  Must be the due to the fact that I didn't get my Christmas time baking fix in like I would have liked to because of morning sickness.   I really did want to make cookies, and cakes, and other goodies, but I just couldn't bring myself to do it.  Now I have been feeling lots better and now I am in the mood. 

I love pinning.  I found this doughnut recipe while doing so.  The recipe was easy to follow and the end result was pretty yummy.  Daddy and the kids all loved them.  I think they could be even better if I could find a yummy maple glaze. 

***This recipe was taken from Krissy's Creations***

Baked Doughnuts
Makes: About 15 doughnuts (& doughnut holes)

For the Dough
3/4 cups Warm Milk
1 packet Active Dry Yeast (2 1/4 tsp)
1 tbsp. Unsalted Butter
1/3 cup Sugar
1 Egg
2 ½ cup All Purpose Flour
Pinch of Nutmeg
½ tsp. Salt

For the Glaze
* Enough to glaze all the doughnuts
¼ cup Milk
1 tsp. Pure Vanilla Extract
2 cups Confectioners Sugar

For the Cinnamon Sugar Topping
*Enough to cover all of the doughnuts
½ cup Unsalted Butter
1 cup Sugar
1 tbsp. Cinnamon

To make the dough, place ¼ cups of the warm milk in the bowl of a stand mixer. Sprinkle the yeast over the milk. Let sit for 5 minutes.

In a small bowl, combine the remaining ½ cup of milk with the sugar and butter. Add it to the yeast mixture. Stir to combine. Add the egg and stir until incorporated. Add the flour, nutmeg, and salt and stir until the dough starts to form. Change to the dough hook and knead for until the dough starts to become smooth. If the dough is too sticky, slowly add more flour until it is no longer sticky.

Transfer to the dough to a lightly floured surface and knead for 5 minutes until the dough is smooth and elastic and has formed a ball. Place the dough ball in a large lightly greased bowl, and cover with plastic wrap. Let sit in a warm place for about 1 hour, until doubled in size.

Once the dough has risen, roll it out on a lightly floured surface until ½ thick. Using a doughnut cutter (if you don’t have a doughnut cutter, you can use 2 biscuit cutters – 1 that is about 3 inches, and the other that is about 2 inches for the inner circle) cut out the doughnuts until you have no dough left. If desired you can gather up the scraps into a ball and roll it out and cut out more doughnuts. However, I found that the dough got too hard to work with.

Place the doughnuts on a baking sheet lined with a silicone mat or parchment paper, about 2 inches apart. Cover with a clean towel and let sit for about 45 minutes.

Preheat the oven 375 degrees F.

Place the baking sheets in the oven and bake for 7 minutes, until lightly golden brown. Be careful to not overbake these. You want them to be light and doughy inside. Let the doughnuts cool for about 5 minutes until ready to top with either the glaze or cinnamon sugar topping

While the doughnuts are cooling make the glaze and/or cinnamon sugar glaze. Each recipe makes enough to cover all the doughnuts. I made a half recipe of each and topped half of the doughnuts with each topping. Or you can choose to just do one of topping for all the doughnuts.

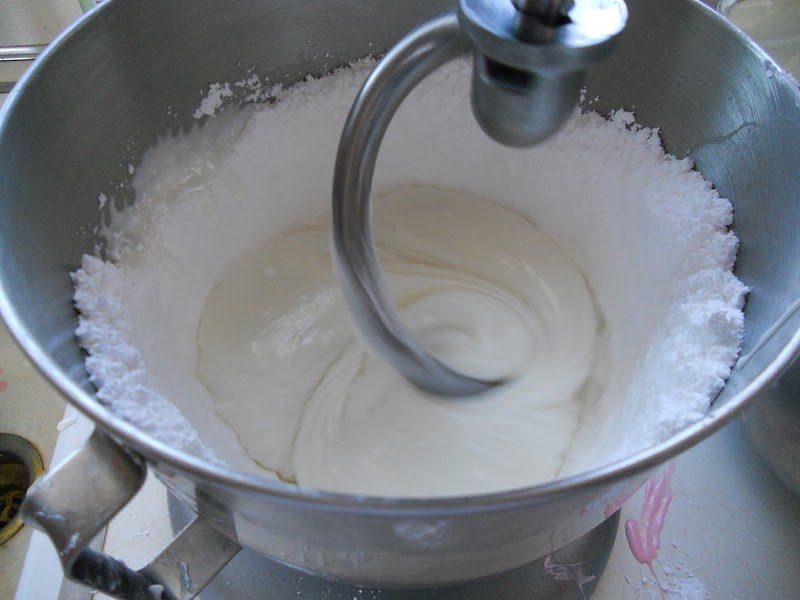
To make the glaze, combine the milk and the vanilla in a small saucepan. Heat over low heat until just warmed. Slowly add in the confectioners sugar and whisk until the mixture is smooth. Remove the glaze from the heat and place over a bowl of warm water.

To glaze the doughnuts, dip them halfway into the glaze and place on a draining/cooling rack set over a baking sheet. Sprinkle with sprinkles if desired. Let set for about 10 minutes.

To make the cinnamon sugar topping, melt the butter in a saucepan or a microwave, and place in a small bowl. Combine the sugar and cinnamon in a medium sized bowl.

To top the doughnuts with cinnamon sugar, dip the halfway into the melted butter. Then dip them into the cinnamon-sugar mixture. Set on a draining/cooling rack to set, about 5 minutes.

Serve and enjoy :)!

Saturday, October 1, 2011

Strawberry Shortcake Birthday Cake

My little girl just turned 4.  For her 4th birthday she insisted on having a Strawberry Shortcake cake.  Over all it was a fun cake that went pretty smoothly to make.  It was really humid here the week I made it and the fondant was alot harder to work with than usual, but I was able to get past that and work through it.  At least there were no cake disasters.


We went with a WSCA cake with a strawberry cream cheese filling and frosted in vanilla buttercream, then covered in marshmellow fondant.

For your taste bud enjoyment I a sharing the Filling recipe.  I found the recipe over on cake central.  I love that site for new recipes for cakes and cupcakes.

Creamy & Firm Strawberry Cream Cheese Filling
Ingredients:
1 cup water
2 small pkgs strawberry gelatin
4 8oz pks cream cheese at room temperature
1 16oz frozen sweetened strawberries (thawed)

Instructions:
Put one cup of water into a clear glass bowl--don't substitute.  Microwave on high until it boils.  Add the two boxes of gelatin and stir with a wooden spoon or rubber spatula until you can smear the mixture against the side of the bowl without seeing any granules.  It should be clear and red.  this step will take a few minutes.  Add the strawberries and mix well.  Let this come to room temperature.  DO NOT refrigerate.  Cream the cream cheese in a stand mixer until fluffy.  Add the strawberry mixture a half cup at a time until it is well blended (it will be a little thin).  Refrigerate for an hour or more or until ready to use.  This filling is very yummy with WSCA as it is not too sweet. 

Left overs are yummy when put into a graham cracker pie crust and topped with whipped cream.

Tuesday, September 20, 2011

Marshmellow Fondant {tutorial}

Here is my favorite Marshmellow Fondant recipe.  I will let you know in advance that fondant is super messy to make.  You will have Powdered Sugar all over your kitchen.  If you have never used fondant before, you may want to buy a little just so you can see what the consistency should look and feel like.

What you will need:
8 cups Mini Marshmellows
3TBS of Water
1 TB of Flavor
 (I use Wilton's Clear Vanilla...I have also made pink using strawberry extract mmm)
9 Cups (ish) Powdered Sugar Sifted
2 Heaping TBS of Shortening
1.  Grease Bowl and Dough Hook of Kitchen Aid. 

2.  Sift 9 Cups of Powdered Sugar in a separate Mixing Bowl.  Sifting the Powdered Sugar is very important.  You don't want to have any lumps in your sugar or you will have lumps in your fondant.   

3.  Put marshmellows, water, flavoring, and shortening in a microwave safe bowl.  I like to use my pampered chef measuring bowl.


4.  Heat up marshmellow mixture in 30 sceond increments.  Pull out and stir in between each increments.  Keep heating until the marshmellows are almost melted, it will look soupy with some lumps.
5.  Scoop 6 cups of Powdered Sugar in Kitchen Aid.  During this time your marshmellow should be cooling down, but don't let them cool completely. Make a well in the powdered sugar with the measuring cup.

5.  Pour Marshmellow Mixture into Powdered Sugar well.  It's going to spread out. 
7. Put 1 more Cup of Powdered Sugar on top of Marshmellow Mixture. 
8. Put the kitchenaid on the first setting. (mine was on Stir) Once the Powdered Sugar is mostly incorporated put on the next setting (I used 2), let it run for a while.  You'll notice there is Powedered Sugar on the sides of the bowl, this is fine, leave it there.  Refrain from scraping it down.

9.  Do an eye and finger test. Watch for the powdered sugar to creep up on the dough hook.  Test with your finger by touching the mixture.  If it goo and sticking to yoiur finger add 1/4 cup more of powdered sugar. 
  
10.  Prepare your counter with shortening.  Bring your sifted sugar that is left and place near where you are working.  Dump the dough on the counter.  Grease your hands.

11.  Add more powdered sugar about 1/8 cup at a time until it can hold it's own weight.  Hand knead and add more powdered sugar in the bowl if you need to.  It will hold its own shape but will still fall (almost like the 10 second peak you lood for when doing cookie icing).

12.  Grease it up, wrap in saran wrap and then put in a plastic gallon or quart sized bag.  Let it rest for several hours (atleast 8 or more).  You will notice that it will stiffen up more as the hours go by. 

Try Freezing Your Cake

It is birthday time again at our house.  Razy will be turning 4 on Saturday!  I can't believe my youngest is going to be 4.  Well with birthdays come CAKE!  This year Razy has picked yet another girly cake.  It took me a bit to get into the cake making mood, but I am now totally on board.  I thought I would share with you some tips along the way as I make Razy's cake.  Sorry no picture for today, but it is pretty easy to see what I am talking about. 

TIP NUMBER 1
Try Freezing Your Cake!
Not only does this allow you to start baking early,
but it also makes the cake moist,
alot easier to frost, and it will hold up better.

I try to bake my cakes the week before I want to decorate them.  If I don't get around to it I will usually make them Monday or Tuesday of that week.  For Example: If we are serving the birthday cake on Saturday, I will make the cake on Monday or Tuesday.  I will take it out Thursday and begin the decorating process.  If you don't have the time, try to at least freeze it for 24 hours.  Trust me you won't be disappointed.  

To Freeze:
Bake your cake and let cool completely
Wrap in 2-3 layers of saran wrap
Wrap in 2-3 layers of aluminum foil
Place in freezer
I stack like sizes on top of eachother.  If you place smaller sizes onto larger ones you will get a dip in the middle of your larger cake.

Happy Baking!