Here is my favorite Marshmellow Fondant recipe. I will let you know in advance that fondant is super messy to make. You will have Powdered Sugar all over your kitchen. If you have never used fondant before, you may want to buy a little just so you can see what the consistency should look and feel like.
What you will need:
8 cups Mini Marshmellows
3TBS of Water
1 TB of Flavor
(I use Wilton's Clear Vanilla...I have also made pink using strawberry extract mmm)
9 Cups (ish) Powdered Sugar Sifted
2 Heaping TBS of Shortening

1. Grease Bowl and Dough Hook of Kitchen Aid.

2. Sift 9 Cups of Powdered Sugar in a separate Mixing Bowl. Sifting the Powdered Sugar is very important. You don't want to have any lumps in your sugar or you will have lumps in your fondant.

3. Put marshmellows, water, flavoring, and shortening in a microwave safe bowl. I like to use my pampered chef measuring bowl.

4. Heat up marshmellow mixture in 30 sceond increments. Pull out and stir in between each increments. Keep heating until the marshmellows are almost melted, it will look soupy with some lumps.

5. Scoop 6 cups of Powdered Sugar in Kitchen Aid. During this time your marshmellow should be cooling down, but don't let them cool completely. Make a well in the powdered sugar with the measuring cup.

5. Pour Marshmellow Mixture into Powdered Sugar well. It's going to spread out.

7. Put 1 more Cup of Powdered Sugar on top of Marshmellow Mixture.
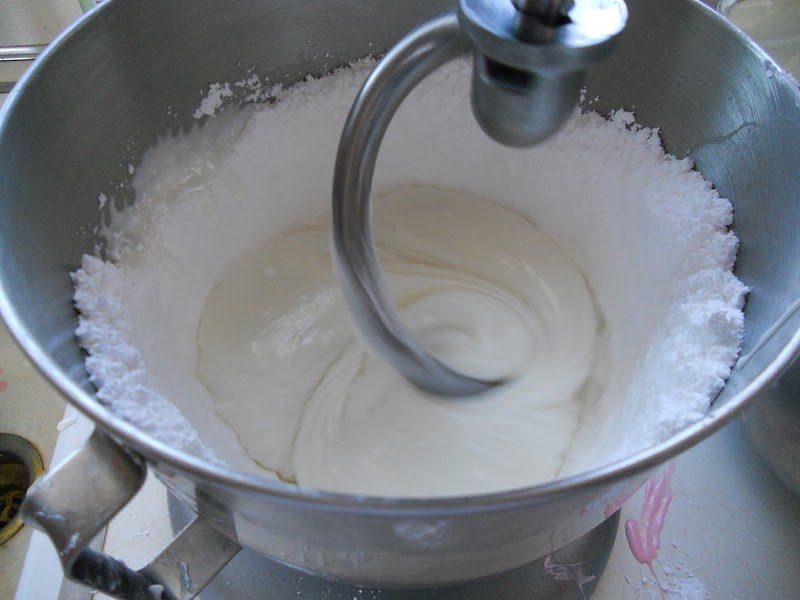
8. Put the kitchenaid on the first setting. (mine was on Stir) Once the Powdered Sugar is mostly incorporated put on the next setting (I used 2), let it run for a while. You'll notice there is Powedered Sugar on the sides of the bowl, this is fine, leave it there. Refrain from scraping it down.
9. Do an eye and finger test. Watch for the powdered sugar to creep up on the dough hook. Test with your finger by touching the mixture. If it goo and sticking to yoiur finger add 1/4 cup more of powdered sugar.

10. Prepare your counter with shortening. Bring your sifted sugar that is left and place near where you are working. Dump the dough on the counter. Grease your hands.
11. Add more powdered sugar about 1/8 cup at a time until it can hold it's own weight. Hand knead and add more powdered sugar in the bowl if you need to. It will hold its own shape but will still fall (almost like the 10 second peak you lood for when doing cookie icing).

12. Grease it up, wrap in saran wrap and then put in a plastic gallon or quart sized bag. Let it rest for several hours (atleast 8 or more). You will notice that it will stiffen up more as the hours go by.